Note: Screenshots in this documentation show our white-label platform interface. Your Sokka Reviews dashboard has identical features and functionality with Sokka branding.
How to set up testimonial tags
Testimonial tags are a great way to organize your reviews into meaningful groups, in order to display them in the right place, at the right time.
To get started, head to thetestimonial tags page.
From there you can create a new tag:
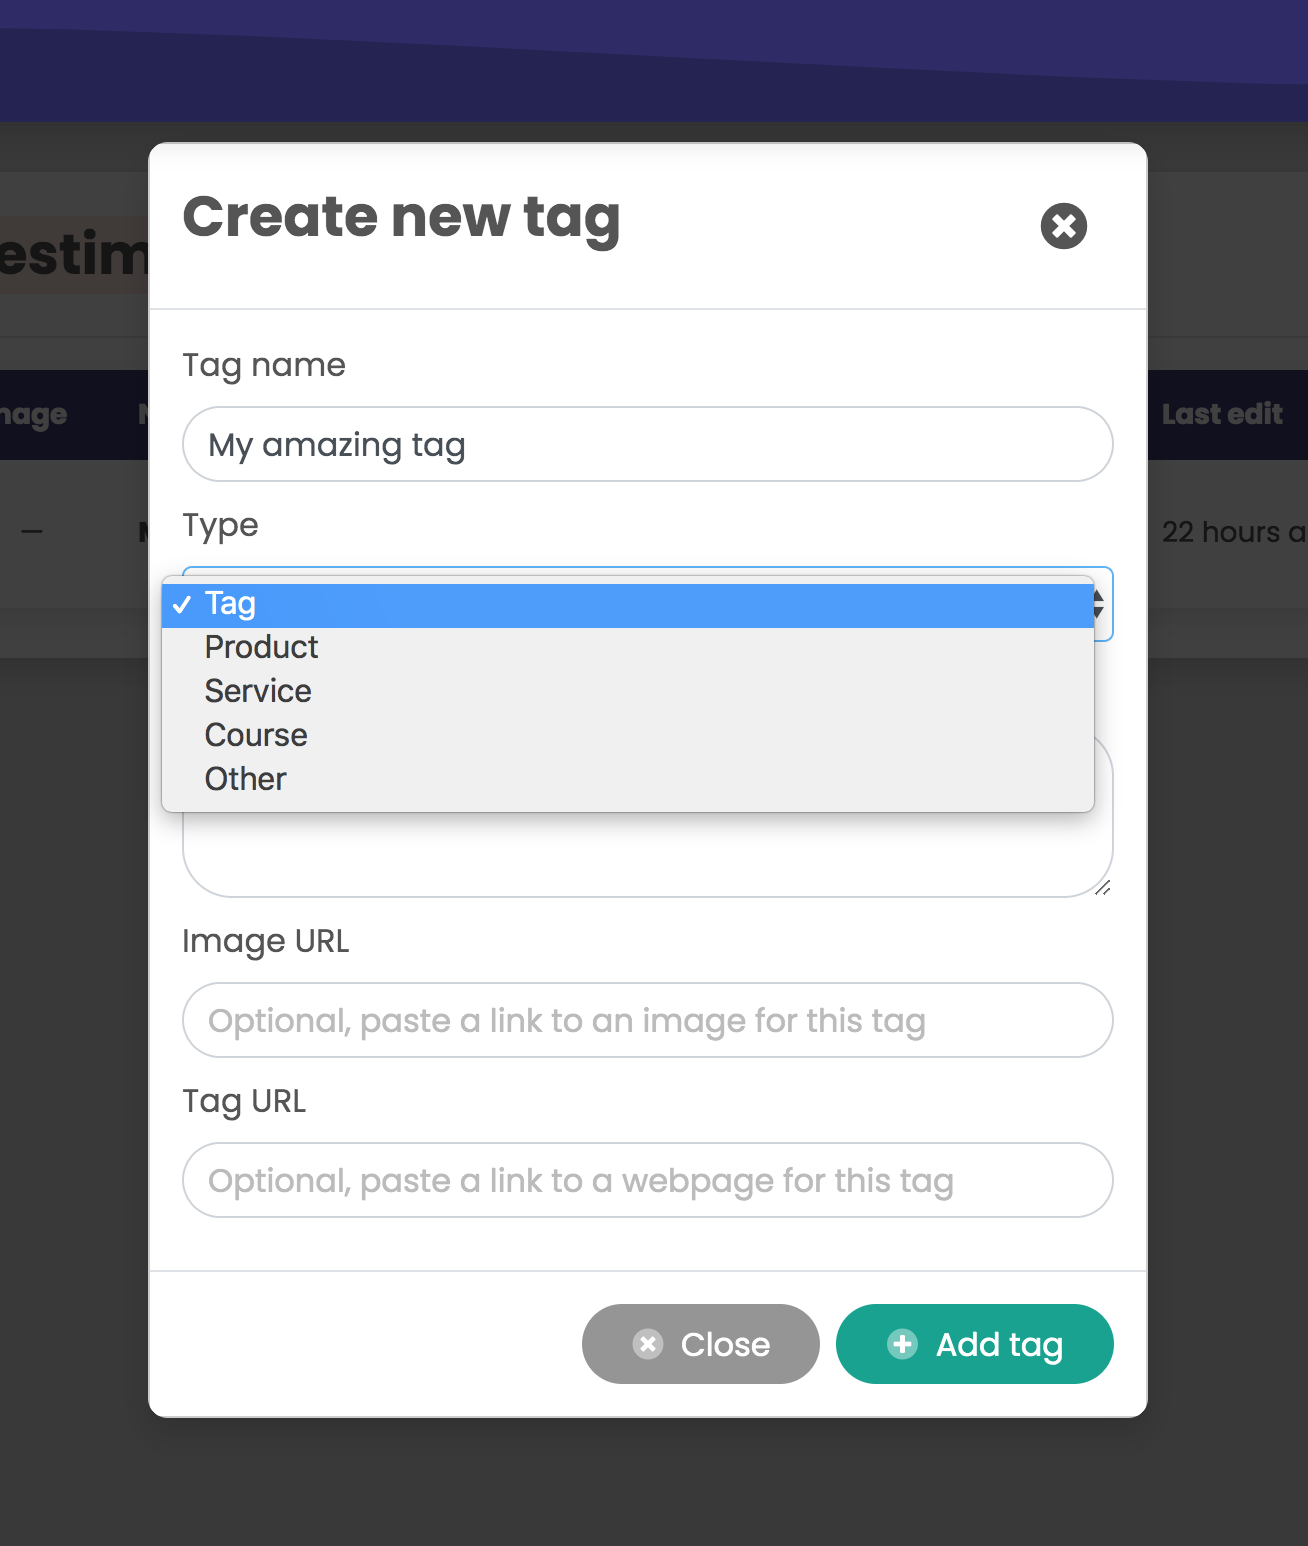
Tags in Sokka Reviews are more than just simple text-based labels. You can add more detailed information, such as:
— Name— Type (choose from tag, product, service, course or other)— Description— Image— LinkThe idea here is that you can optionally include detailed information about whatever item you're linking the testimonials to. This is perfect for things like products where you'll soon be able to optionally add a small preview of the product to the testimonial itself when displayed on your site.
Tagging testimonials
Once you've set up tags, you can add them to testimonials in two ways:
- Manually, on the testimonials page
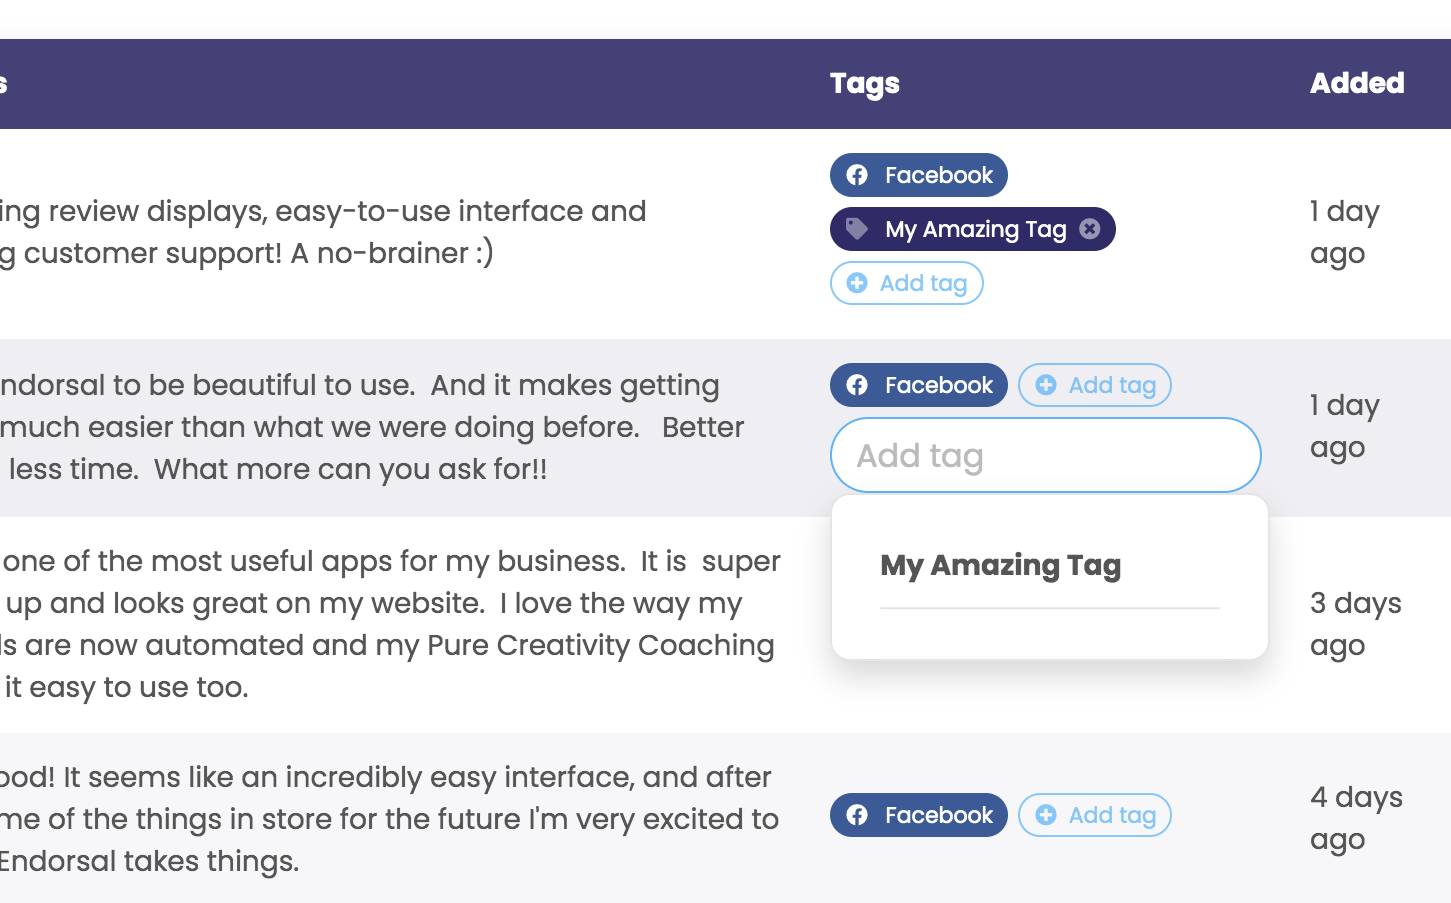
Head to thetestimonials pageand you'll see a "Tags" column. Click "Add tag" and you can select from a list of recent tags or search for the one you want. Click a tag and it'll be added to that testimonial.
You can add as many tags as you like to each endorsement.
- Automatically, using SuperLinks
Head to thetestimonial tags page. In the actions column, for each tag you'll see a set of icons like these:

If you click the "Create a SuperLink" icon (third from the left), you'll automatically create a SuperLink containing your tag and it'll look like this:
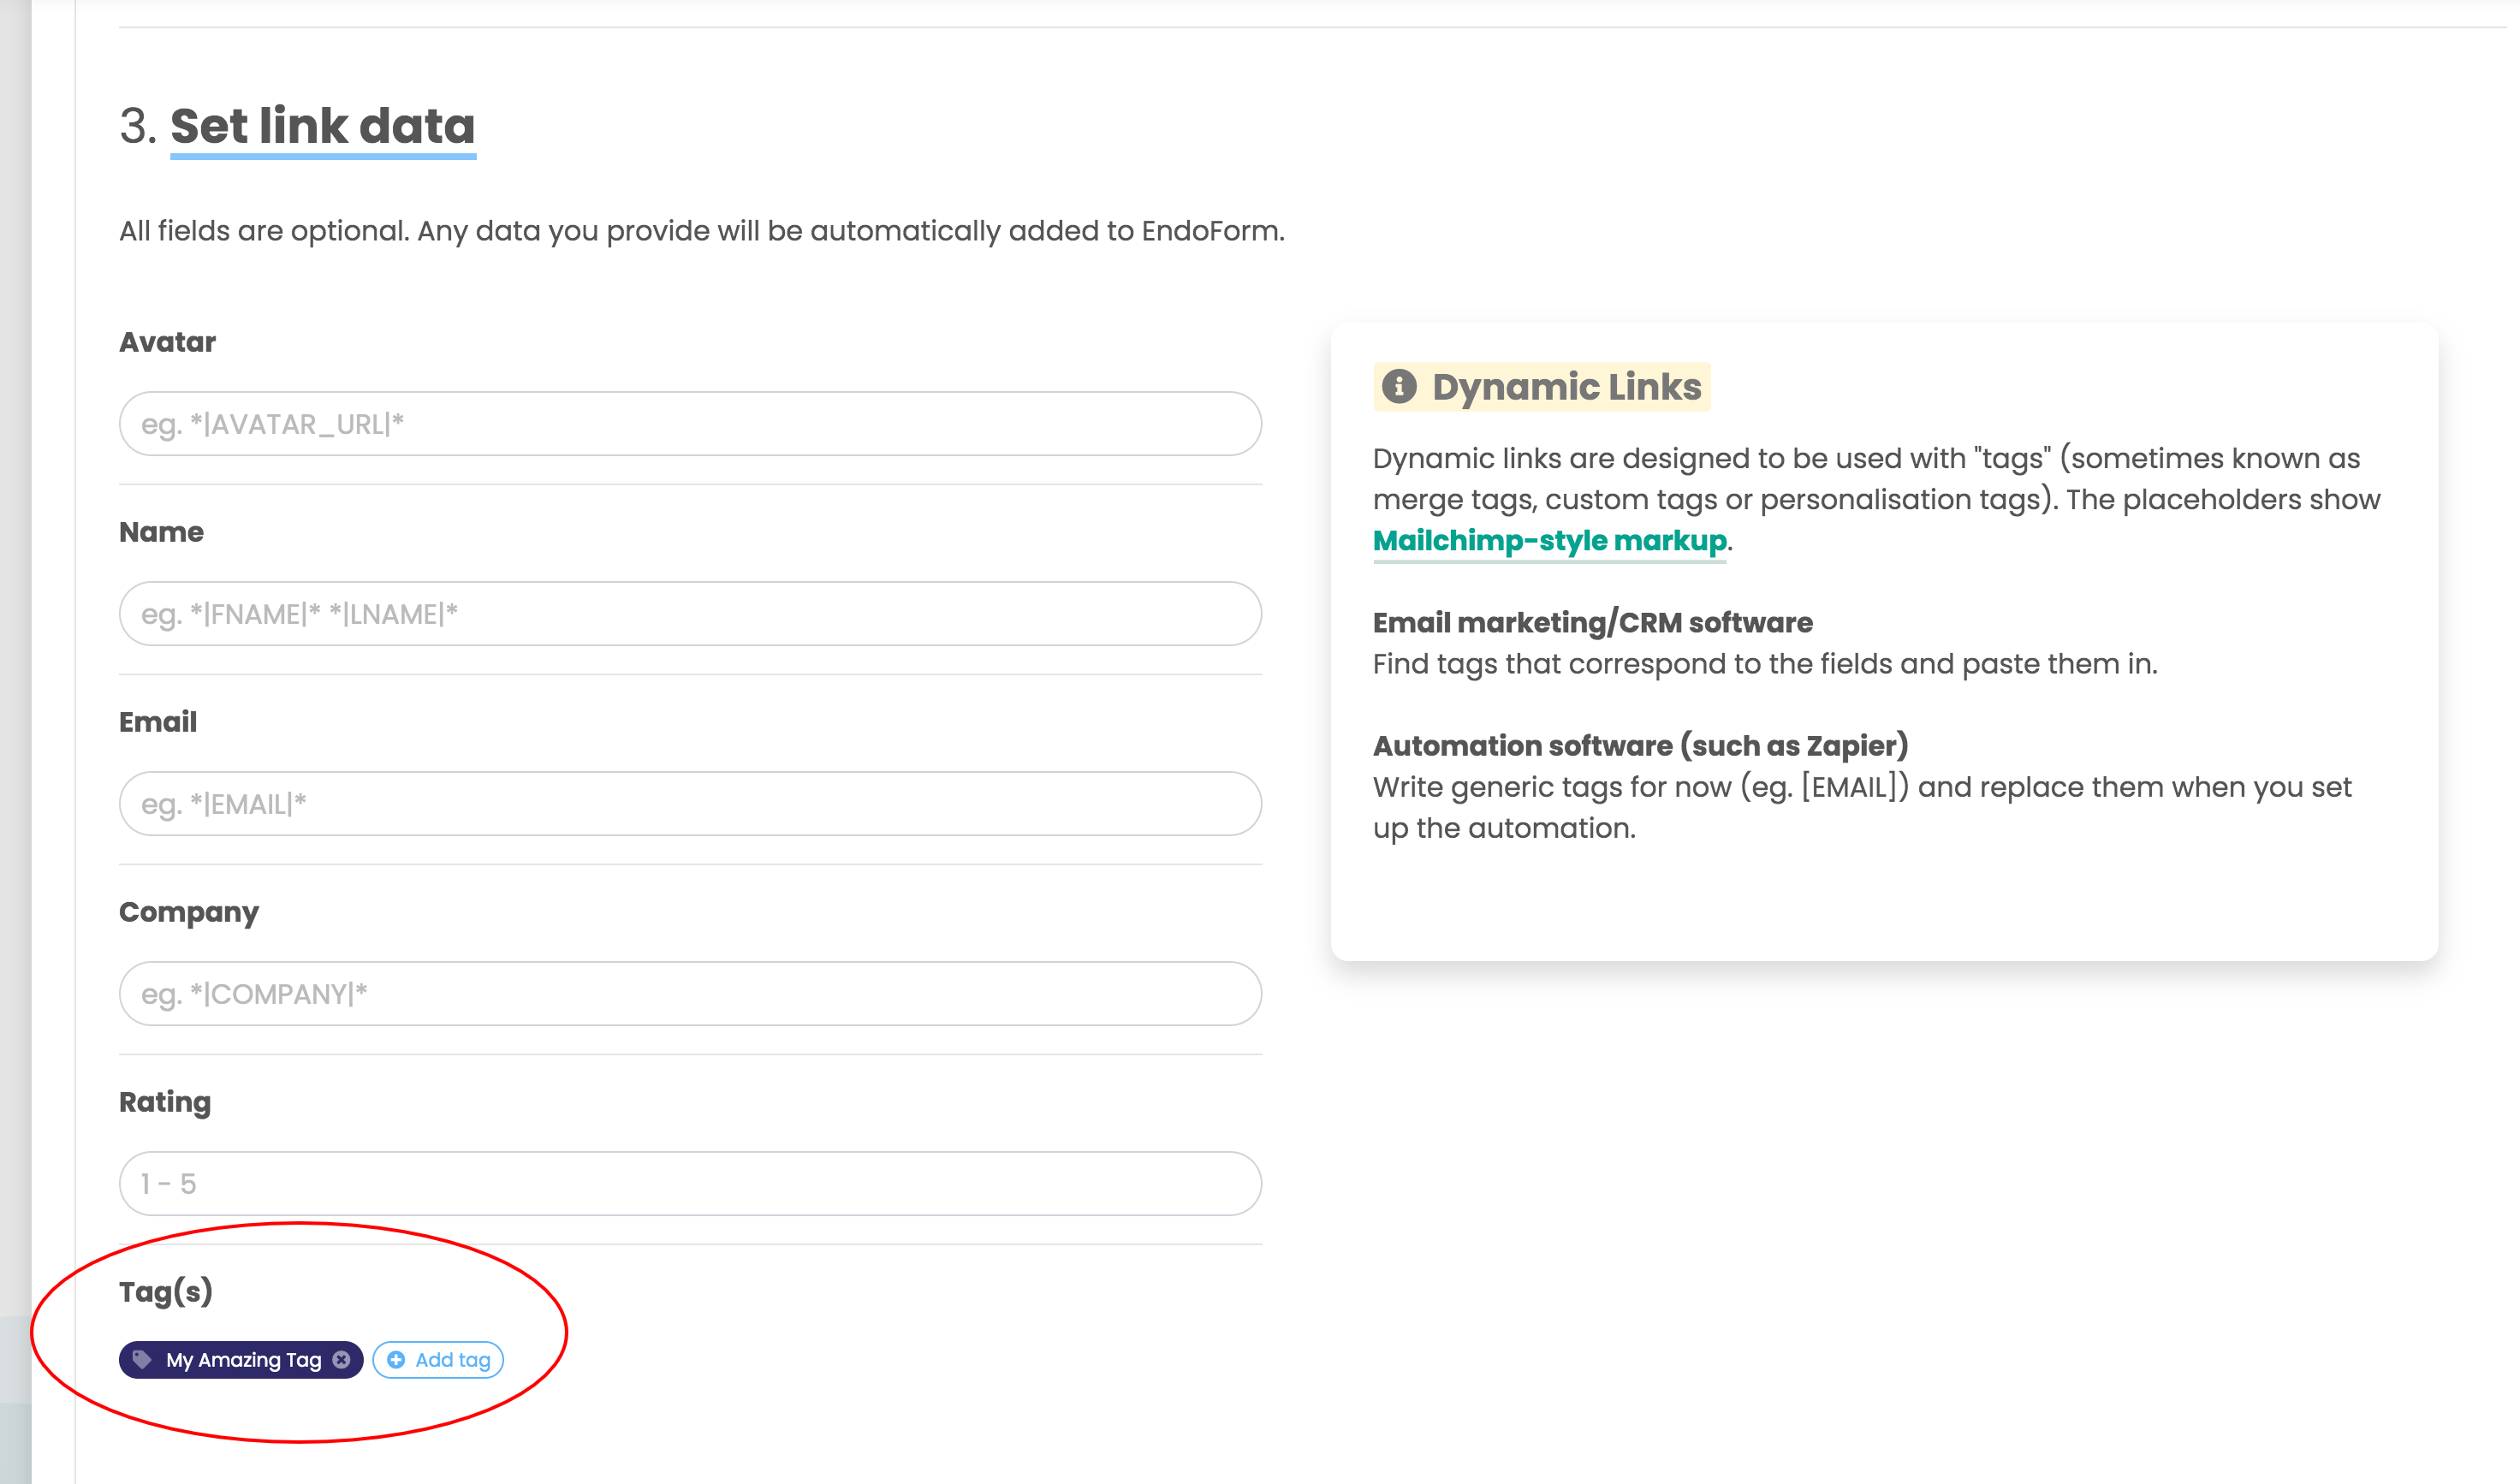
From here you can add other tags if you like or add any other data to pre-fill your EndoForm.
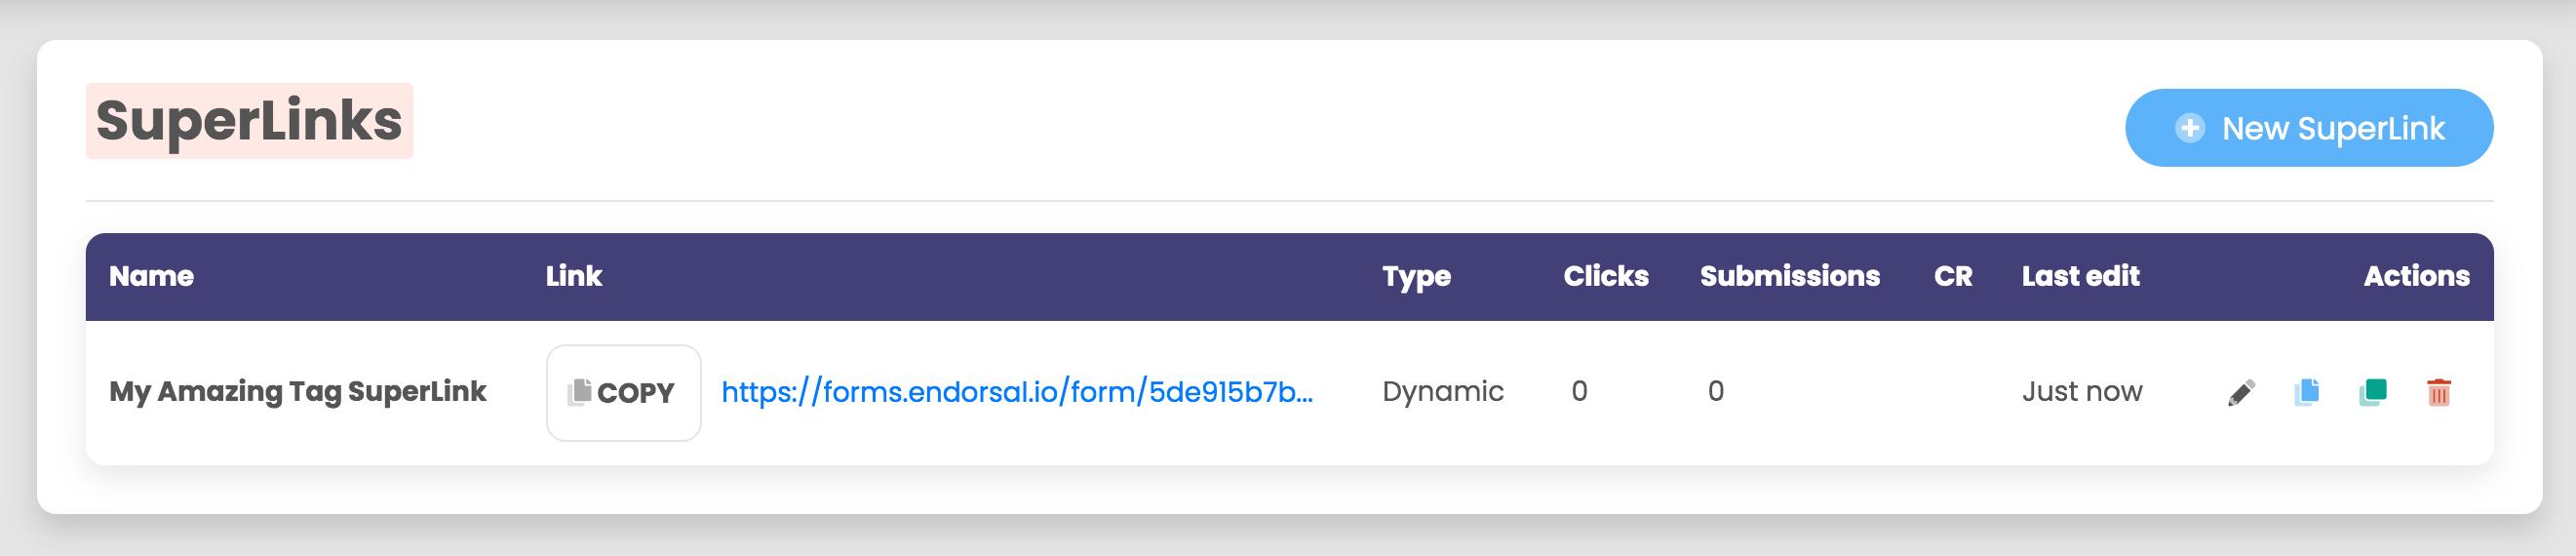
Once finished, click "Create link" and you'll now have a shiny new SuperLink that'll auto tag new testimonial submissions when you send it to your customers:
If you need any other help with SuperLinks in general,check out this article.
Creating widgets grouped by tags
Once you have a range of tagged testimonials, you can automatically create widgets that will group together those reviews.
Head to thetestimonial tags page. In the actions column, click the widget icon (</>) to create a new tag widget.You'll see that "Testimonial source" is set to "Tag" and the tag in question is pre-selected, like this:
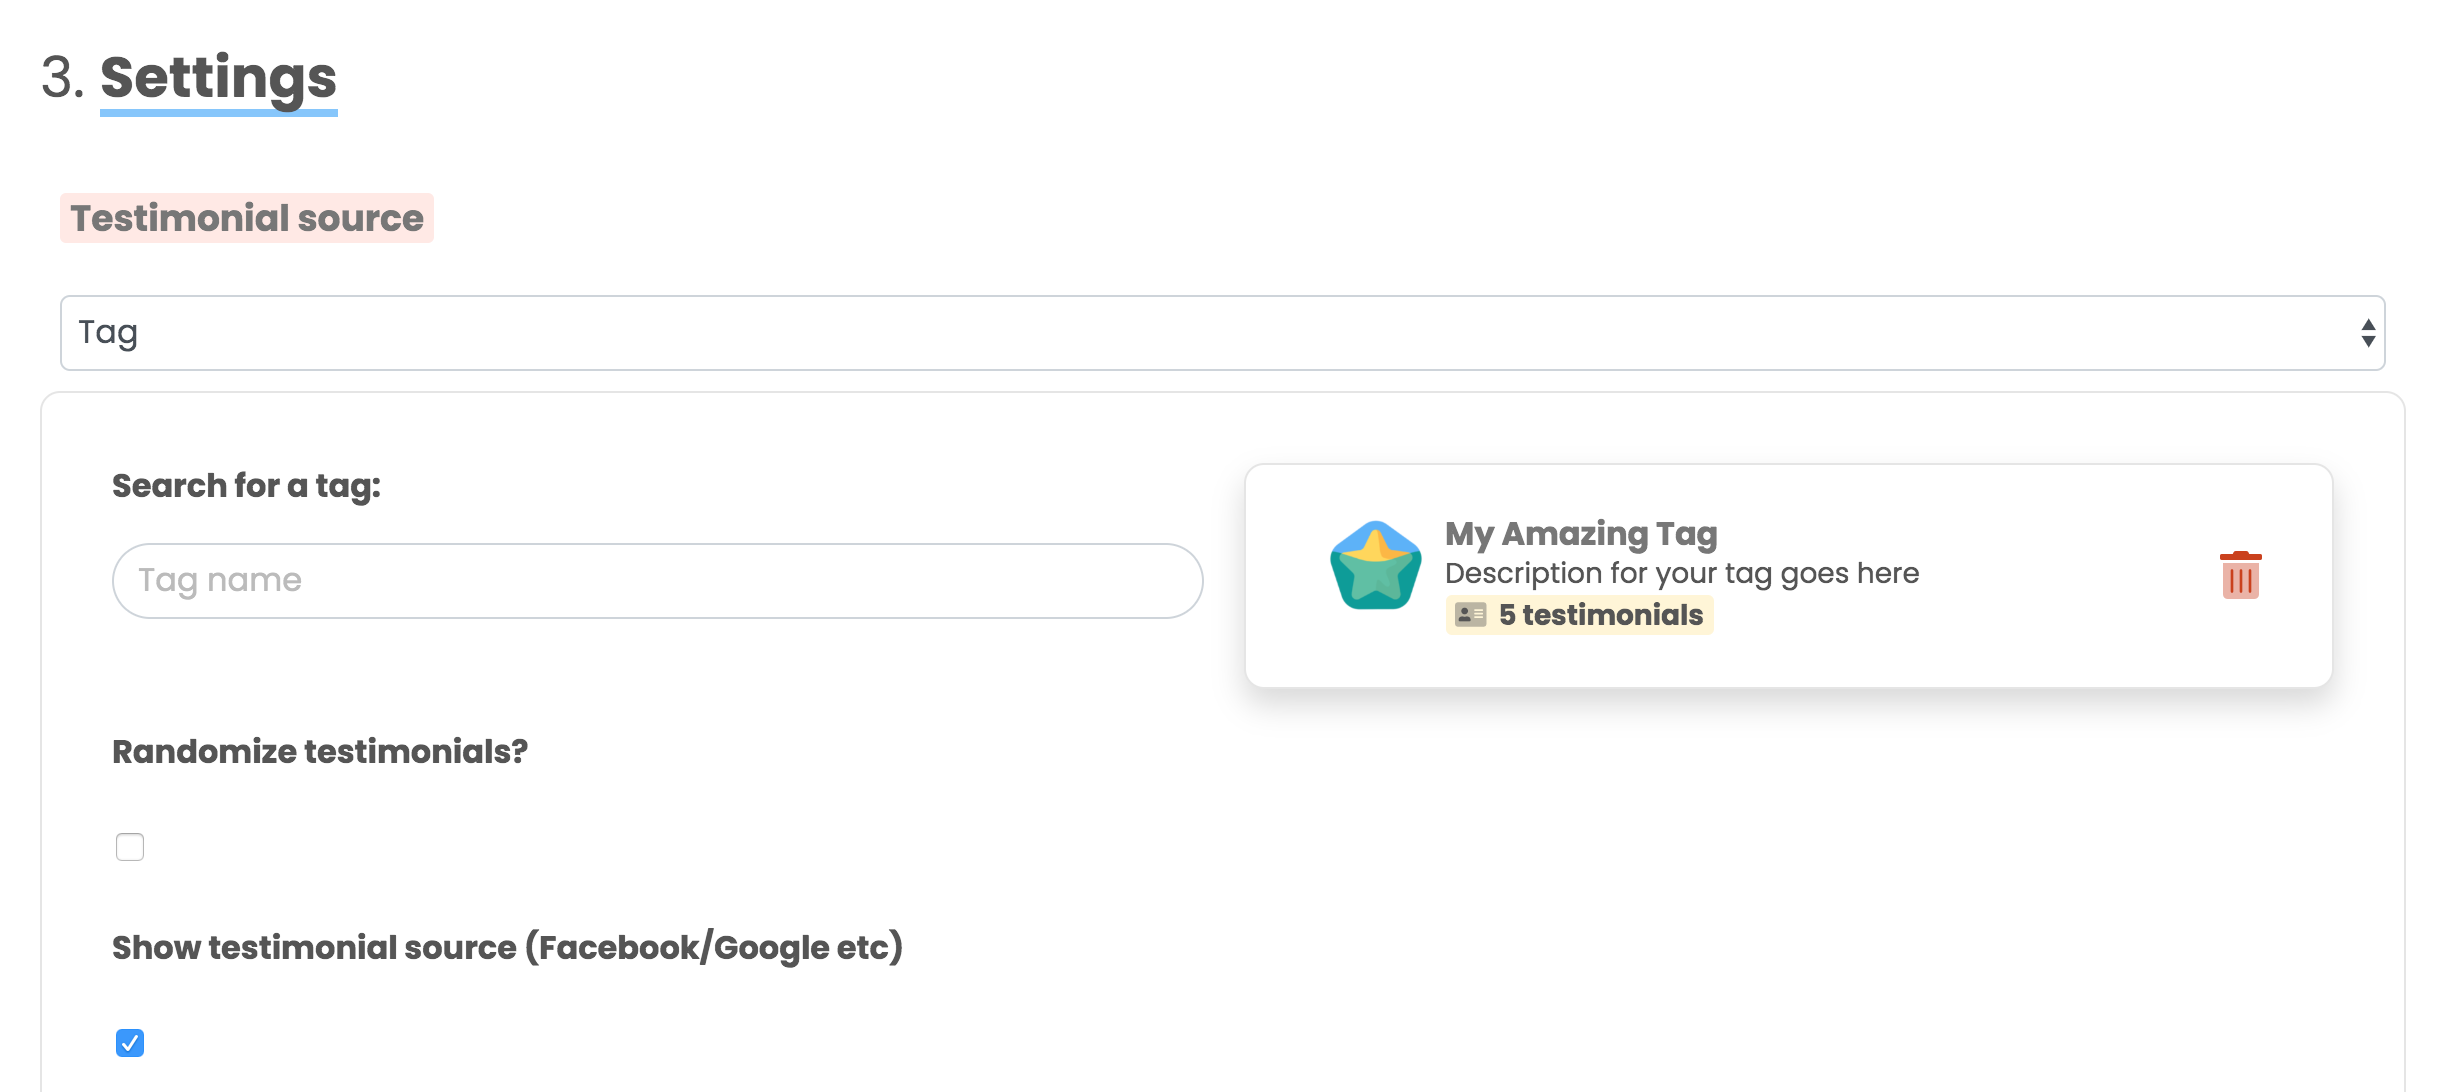
Finish setting up your widget, grab the embed code and insert it into your website — your tagged testimonials will display wherever you want them.
Summary
Creating tags is quick and easy. You can add as many tags as you like to each testimonial and create auto-tagging SuperLinks and grouped tag widgets in a few clicks.
The use cases of tags are practically endless!
If you need any help setting up, reach out on the chat box within your dashboard.